Following up on last week's blog post which covered bottom bracket creaks that are actually not coming from the bottom bracket, this article will look at a smart work flow for allocating and fixing creaks.
Finding the creaking bottom bracket without tools
Before getting to work and pulling out all the tools, see if you can do a quick analysis. Different parts of the bike creak in different patterns and with experience you will learn to recognize some of the sounds.
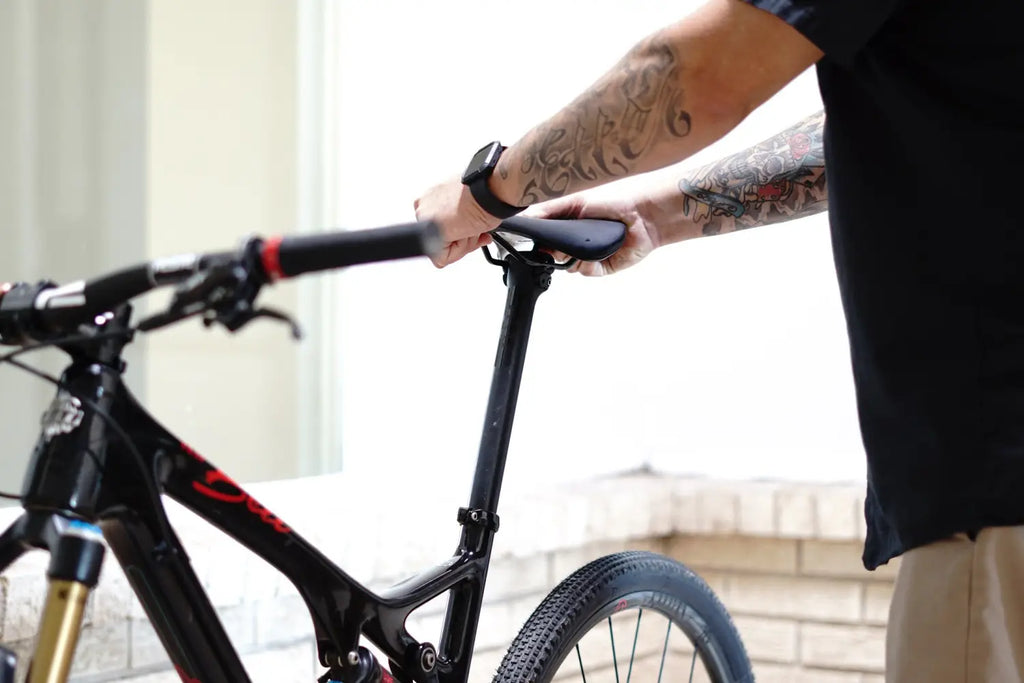
Take the bike, squeeze the front brake and rock the bike back and forth while sitting on the top tube. You might be able to make the head set or front brake caliper creak. Bounce on the saddle to see if that causes a creak, which would indicate saddle, seatpost, wheels or suspension parts. Grab the front and rear wheel at the top and while holding onto the saddle with your other hand, rock the wheel from left to right.
Now test ride the bike in sneakers, both standing and sitting. Listen to the bike and see if you can allocate the location of the creak. Since your ears are based above the bike and roughly in the center, it is very hard to be specific here.
If anything jumps out to you, fix that area first before starting below step by step.

- grabbing the head set and front brake and rocking the bike back and forth is a quick way to find out if the head set is maladjusted and needs some love.
disassemble the entire crank area
The original complaint was 'creaking bottom bracket' so there is a good chance that the bottom bracket area is causing the issue. When I was working on bikes professionally in Belgium, this was a very common complaint from riders. Bike rides happen in the rain in Belgium, whether you like it or not.
The quickest solution for me was to disassemble every bolt in the bottom bracket area, clean and re-grease all the parts. Think of removing the bottom bracket, loosening every crank bolt, removing the pedals and cleaning dirt of every component before dipping it in Aqua Proof paste. With a bit of practice, this is a 15 minute job and fixes 90 percent of the bottom bracket creaks. It is an easy fix, time is roughly always the same, so if you work for a customer it is great that you can quote them a fixed price for this job.
Wheels, derailleur hanger, quick releases and axles
Once the above umbrella fix does not have the desired effect, it is time to look at the rest of the drive train: put a different front and rear wheel in the bike to see if it fixes the issue. Remove the derailleur hanger and front derailleur clamp and reinstall them with a dab of grease. Also grease the threads on quick releases or thru axles.
In this process you might find out that the hubs are creaking in the frame, which would be a reason to overhaul the hubs.
saddle, seat post, head set and handlebars
Typically these creaks can be found when doing the pre-check. Grab the handlebars and rock them back and forth. Do the same with the saddle and seat post. Remove, clean, grease with the appropriate grease or installation paste and make sure all bolts are torqued to spec. Remove the fork and the head set bearings and reinstall them with a healthy dab of Aqua Proof. While removing carbon parts, make sure you always check for damage. Broken fibers of carbon rubbing together make creaking sounds and are an indication that a catastrophic failure is imminent.

- A quick grab and rocking of the saddle might reveal a creak and save you time on disassembling the bottom bracket area.
suspension pivots and frame warranty
By now you have disassembled almost every bolt on the bike and if you were in my work shop, you probably heard a few strong words come out of my mouth. The key is to not get frustrated and and keep on digging.
If you are working on a mountain bike, every pivot point in the suspension is suspect. Just like the crank disassembly in the beginning, it is much easier to overhaul all of them without checking which one is the offender.
When you have gone through this step, you must see grease on every piece of thread or pressed area on the bike. If you missed any: unscrew and reinstall up to manufacturer spec.
If everything else has failed, have a good new look at the bottom bracket area. Measure the bottom bracket shell inside and see if it is within specification and not ovalized. See an aluminum insert in your carbon frame? The bond between the two might have broken. If that is the case, you might have to send back the frame to the manufacturer for repair or replacement. Nobody likes replacing frames for mystery creaks, so prepare for a lot of questions when you make that call. Keep a record of all the steps you have taken to eliminate creaks and remember to be friendly. The person on the other end of the line is not at fault and treating a warranty person with respect is probably your best bet in getting your problems taken care of.
Conclusion
Finding a creak, bottom bracket or not, can be a challenging and frustrating process. The key is to be analytical and persistent. Convince yourself that the bike will be quiet at one point and you will feel amazing once you cracked the code of this problem.

