"I do all my own work! I don’t need a mechanic, I’m an engineer and I always figure things out myself! I made my own bearing press, it’s fine!"
Not a day goes by in the Kogel office without talking to one of our customers that wants to install their $240 bottom bracket with improvised tools.

I totally get it: tinkering with bikes is fun, it feels really good to start a mechanical challenge and finish it in your own garage.
On the other hand: it really sucks to destroy expensive bike parts before you put a single mile on them. Imagine trying to cut your steerer tube, but without the guide that sets professional mechanics up for success every time they perform this job. You will probably get a cut that is straight-ish enough to cover the irregularities with stem spacers. The guide probably costs $75 and you won’t use it very often. It is totally tempting to wrap the steerer in electrical tape and use that as your guide.
As you are moving the saw back and forth, you see the cut line slowly working its way into the tape and you know it is not going right so you readjust course and start sawing away from the tape. The fork may be usable or it may be unsafe to ride. At the minimum it looks ugly. Was the $75 savings really worth ruining a $800 fork? Or even better: could you have spent $40 to ask your LBS to do the job for you?
There’s a lot at stake
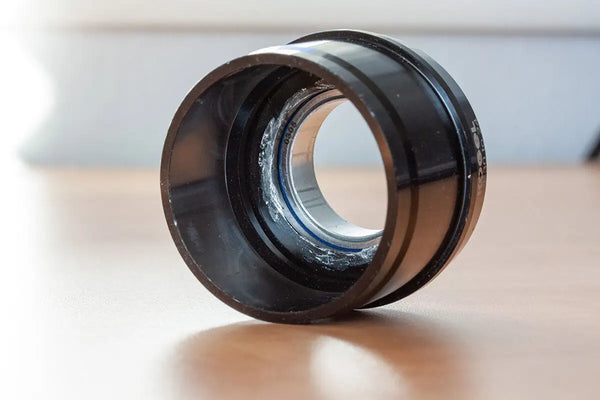
Unlike a wrongly-cut fork steerer, the damage to a badly installed bottom bracket is not as obvious. You can totally crush the bearings during the installation and the bottom bracket will feel fine for a week or so. After that, things deteriorate fast: races are dented, a ball might be cracked and pedaling will sound like you put a brick in the laundry dryer.

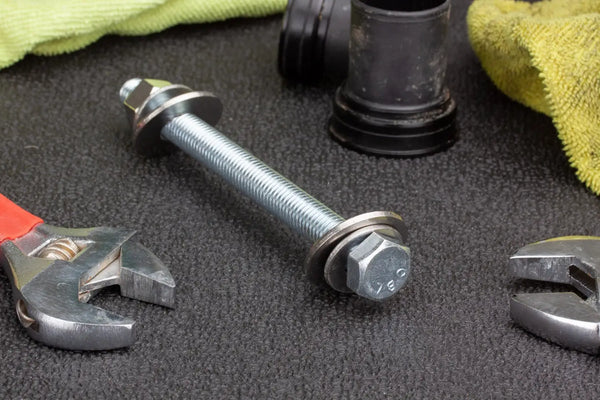
A threaded rod with bolts and washers is not a bearing press
The most common way to manufacture a homemade bearing press at a low cost is to buy a piece of threaded rod, a bunch of washers, and matching nuts from the hardware store.
These tools will be excellent to get your bottom bracket pressed into the frame. At the same time it will most likely be excellent at destroying your bearings. The three major issues are:
-
Washer diameter - The washers you will find at Lowe’s will not match in diameter to the bearings you are pressing into the frame. Just for the fact that bike parts are measured in metric sizes and US based washers will most likely have a diameter in imperial numbers should make you worried. Everyone knows you should not put any load on the inner race when pressing a bearing. Your washer is not likely to be within a mm of the outer diameter of your BB30 or 6805 sized bearing. If the washer is any shorter, all load will be placed on the bearing seal and inner race.
-
Washer strength - Thin washers offer no stability. There is a reason why bearing drifts have a thickness: to build stability while doing the job. A flat washer (even if you stack 10 of them together) will have no stability on the rod. If one side of the bearing slips in slightly easier than the other, a flat washer will wobble with it, rather than correct it and ensure a straight install.
-
Applying off-center torque - A washer does nothing to center your rod in the bearing. Since the diameter of your rod rarely matches the inner diameter of your bearing, there is no guarantee that the press will be centered in the bearing. Chances of a slanted install are real! Not pressing on the exact center of your bearing and press will cause the bearing or BB cup to slide in crooked. It does not look pretty and will crack your frame if you keep tightening the nuts.

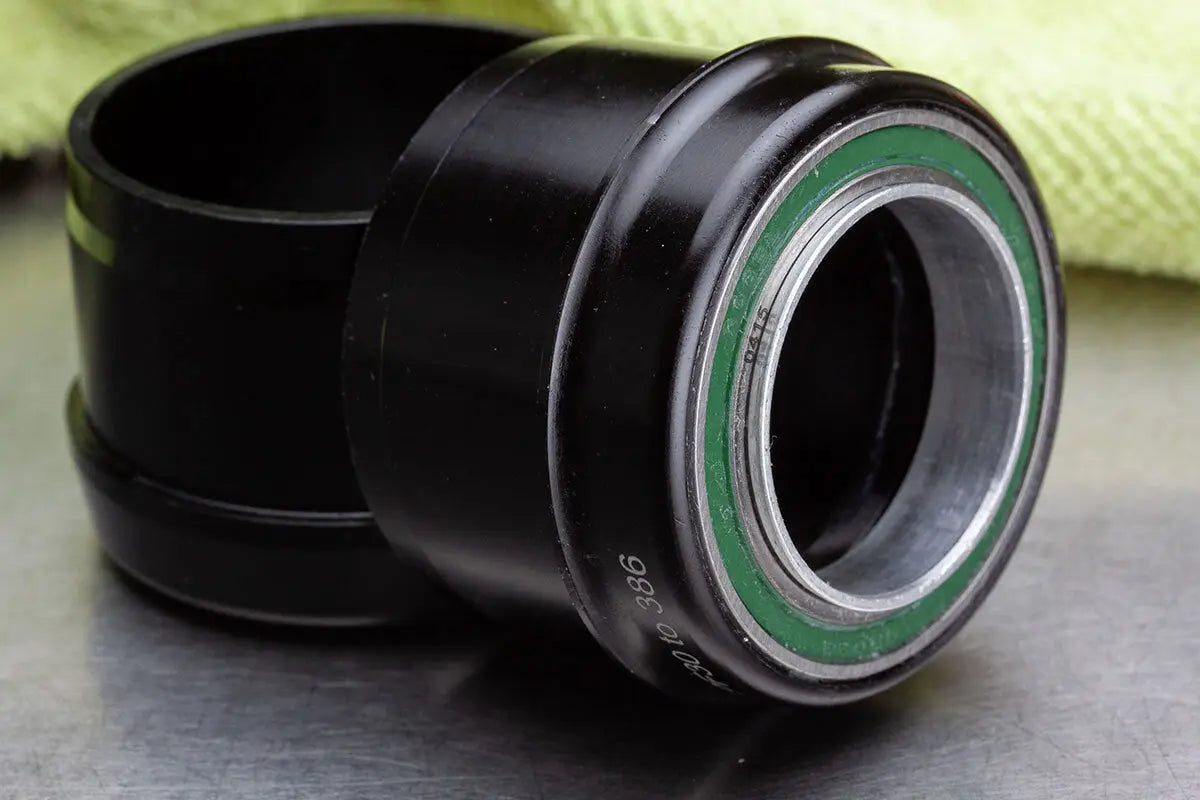
Kogel Bearing Drifts for a stress-free installation
Kogel’s bearing drifts have been designed with a few features to take all stress out of your installation process:
- Diameters matching exactly to your bearing size
- A recess around the inner race to guarantee that no load can be put on the bearing components that should not be loaded.
- Exact matching inner diameters to the bearings and tight tolerance bores on the drifts guarantee a perfectly straight install
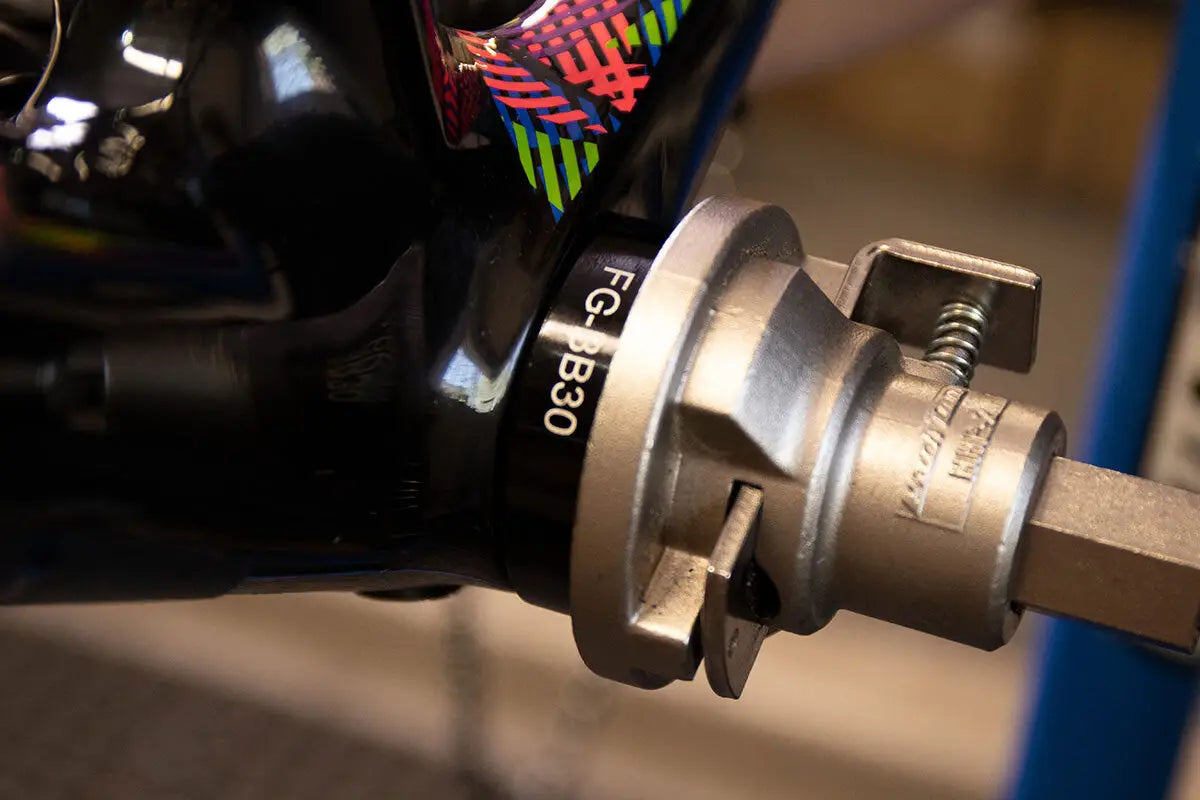
Our drifts are designed around the Park Tool HHP2 headset and bearing press. This is the big tool you will see on virtually every shop wall across the globe. By itself, the press without drifts will set you back around $200. The drift sets are another $43 per size. You’re looking at a minimum investment of $250. About the same as what you paid for the bottom bracket.
If you already have a bearing press with a different rod diameter, it could be a bit cheaper if you install a wheel bearing drift on the rod to reduce the drift bore. That could save some dollars.

Depending on how many times you plan to install bottom brackets, this kind of investment in tools could be worth it or not. It is up to you. Consider that the average bike shop will probably charge between $30 and $40 to do the job for you. You can have your job done by a professional up to 8 times at the same cost.
Are we doing this job, or what?
As I mentioned before, specialty tools for bicycles are expensive and labor for mechanics is relatively cheap. This is a good time for you to decide in which camp you want to be: do your own work and commit a budget to buying the right tools for the job, or pay a professional to do the advanced bike work for you.
This is an either or situation, buy the tools or pay a mechanic. The compromise of doing the work and not buying the tools is the worst possible outcome. Just like when I go out for dinner with my wife and I want to wear black shoes and she wants me to wear brown shoes. Both options work well, the compromise makes me look terrible.
Ride on,
Ard

